HOW THEY ARE MADE AND OTHER INFO
BROWSE BOWLS BY PRICE, SIZE, STYLE, ETC
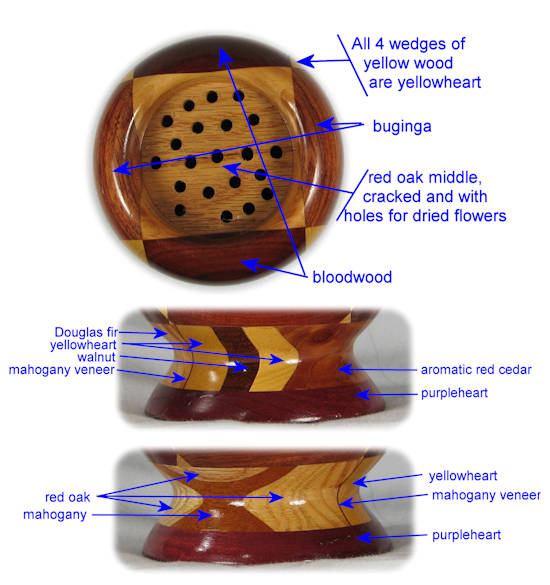
orientation view and a list of the woods; the "woods used" image can be enlarged
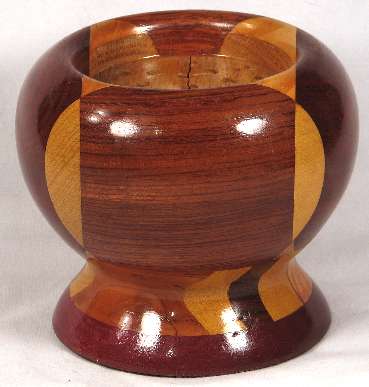
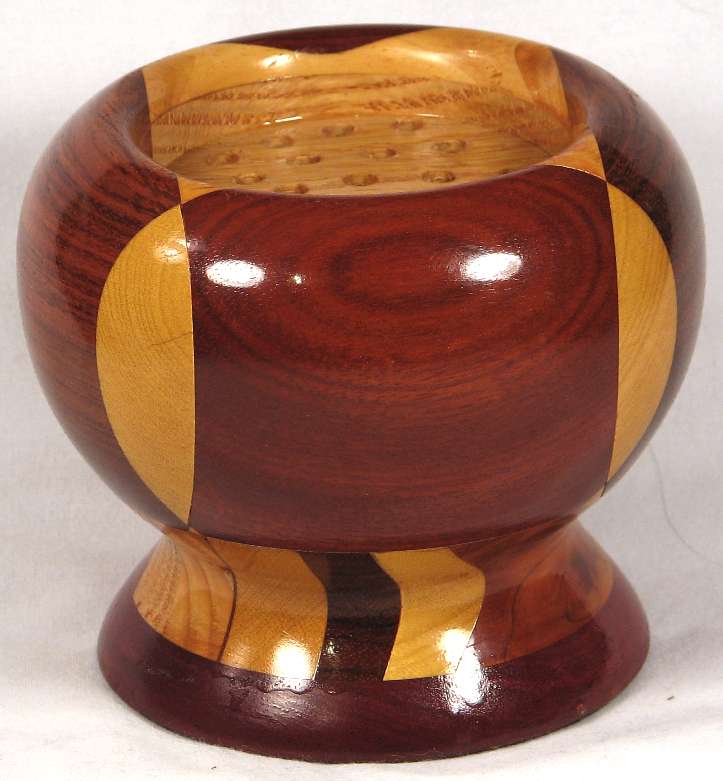
B116 --- $40.00
diameter: 4 3/4"
height: 4"
finish: one application of natural stain then three coats of high gloss regular polyurethane (no UV blocker)
comments: I had originally intended that all of my bowls of this shape would be dried flower holders with the center raised and drilled out like this one. I have since changed it so that the centers are hollowed out to make the whole thing more of a goblet than a dried flower holder because the goblet shape is more versatile --- you could put a styrofoam ball into it and poke dried flowers into the styrofoam if you want it to be a dried flower holder. Anyway, the point is that this is one of just a handful that will be available with the drilled center.
The low price on this one is mostly because of the flaws, not because I don't like it --- I think the subtle differences between the two reds of the major woods (bubinga and bloodwood) worked out the way I had hoped it would.
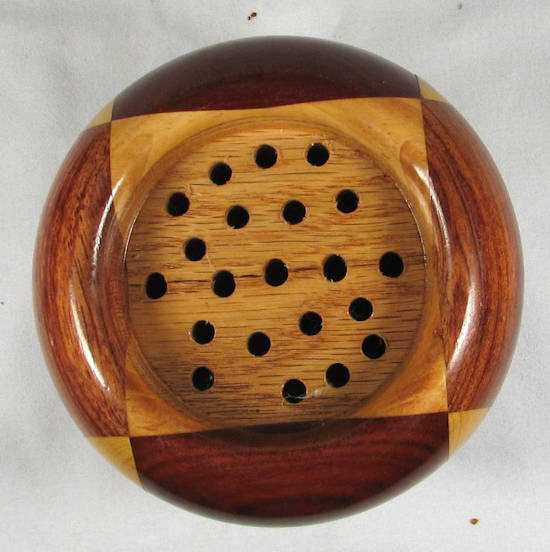
flaws/issues: the red oak center has a stress fracture that occurred because I left it sitting around after drilling the holes --- I should have added at least one coat of polyurethane right away to prevent moisture absorption, but I did not.
the vertical wedge of yellowheart in the upper right has a very small edge flaw that is noticeable. You can see it in the bottom right corner of the the last of the pics below.
The moisture absorption that caused stress fracture in the oak center also caused some slight movement in other pieces so that when you run your finger around the circumference of the bowl, you can feel very slight ridges at a couple of the joints.
The finish is rather sloppy at the bottom of view 1 and I've included an enlarged picture of it (the first of the pics at the bottom of the page) so that you can see what I mean. This was an early bowl and I've since learned how to avoid the "drip" look on the finish. I DID go back and redo the finish on that area of the bowl, as shown in the subsequent pic below.
VARIOUS VIEWS:
view 1a --- the "drip" at the bottom has been fixed, as you can see directly below
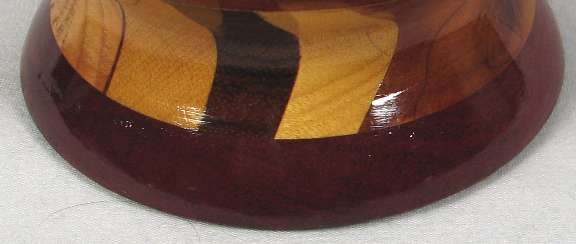
with the drip area scraped, sanded, and refinished